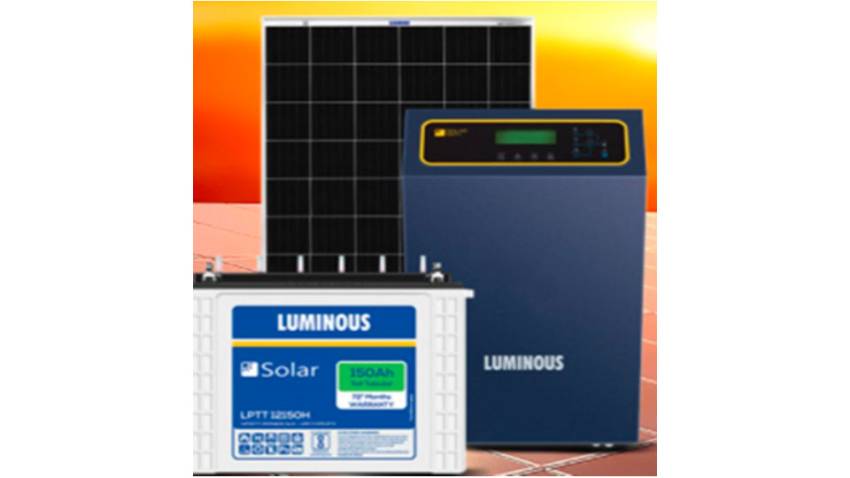
A step-by-step guide on Off-Grid solar panel system installation

New Delhi : Solar energy has many benefits, including energy efficiency, diverse applications, cost-effectiveness, minimal maintenance, zero pollution, and reduced carbon footprint. These benefits have motivated people to switch to solar power, accelerating the use of solar power systems in India and around the world. However, to attain these benefits, proper solar panel system installation is a must.
This guide will highlight all the steps involved in an off-grid solar panel system installation. Whether you hire a professional or DIY, it is best to know the process beforehand. So, continue reading to learn more.
1. Setting Up the Mounting Structure
The first and most important step of installing an off-grid solar panel system is setting up the mounting structure. First, you need to ensure that the structure is robust and correctly secured to the rooftop. Next, you must check that the direction of the mounting structure is facing South so that the photovoltaic (PV) panels can function efficiently by receiving direct sunlight.
Although other directions, including East and West, also work, it is best to avoid facing the solar panel system in the Northern direction. Similarly, the panels’ angle and tilt should be in accordance with the, degree of latitude, wind direction and wind speed of the area you live in. Since this can get complicated, consulting a professional is best.
2. Assembling the Solar PV Panels
Once the mounting structure is fixed in place, the next step is to assemble the solar PV panels. Although this is an easy step, it is essential to ensure that all the solar panels are secured properly using the correct nuts and bolts. It would be best to double-check the panels’ placement before moving on to the other connections, as it can affect the solar panel system’s efficiency and performance.
3. Electrical Connections
While some solar panel systems come with MC4 solar connectors, others have a built-in junction box with loose wires. To create a series connection, you need to connect the positive wire of one PV module to the negative wire of the other PV module. Similarly, you need to create a parallel connection by connecting the negative to the negative wire and the positive to the positive one. This is an important step as it helps to maintain the voltage levels.
4. Connecting the Solar Panel to the Solar Inverter
A solar inverter plays a crucial role in powering appliances. Therefore, the next step is to connect the solar panel to the inverter. This is done by connecting the panel’s positive cable to the inverter’s positive terminal and vice-versa. However, make sure that the solar inverter is turned off while you’re making these connections.
5. Connecting the Solar Inverter to the Solar Battery
Since the solar battery is an essential component of an off-grid solar panel system, it needs to be connected to the solar inverter. This step is simple as all you have to do is connect the inverter’s negative terminal to the battery’s negative terminal and vice-versa.
6. Connecting the Solar Inverter with the Power Grid
To connect the solar inverter with the electricity grid, you need to plug in the inverter in the power switchboard to receive power supply from the grid.
7. Getting Started
Now that all the connections are made, the last step is to switch on the main power supply, and you’re good to go. If you want to know the total power that is being generated by the solar panel system, you can either check the digital display on the solar inverter or use the Remote Monitoring System provided by the Inverter manufacturer..
Although the solar panel system installation process seems quick and easy, it might be best to seek professional help, especially if you have no relevant experience. Doing so is vital because even the slightest error can affect the performance and efficiency of the solar panel system. You can contact the experts at reputable brands like Luminous that specialize in solar system installations. Even better, they sell the best-in-class solar products, so don’t forget to explore their website today!


